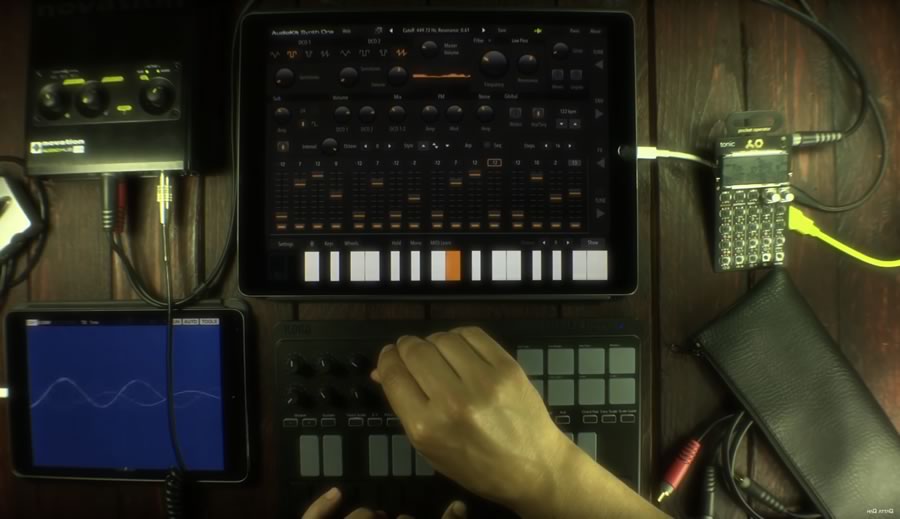
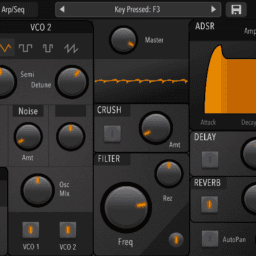
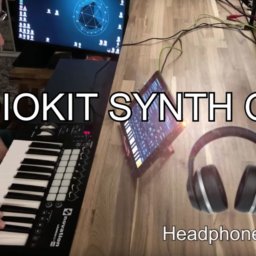
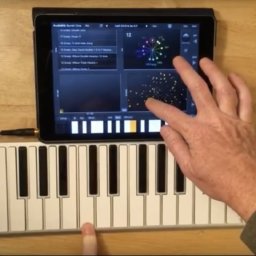
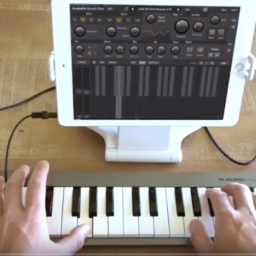
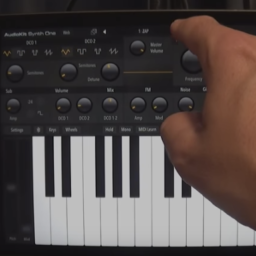
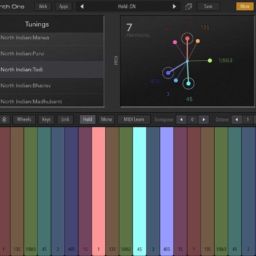
Musician Jakob Haq has released an amazing new video for AudioKit Synth One. He discovered Synth One’s hidden “Easter Egg” panel. Additionally, his video is extremely educational. It’s packed with essential getting-started lessons. And, tips & tricks for sound design with AudioKit Synth One. We highly recommend watching all of it.
Since Mr Haq found this panel, it’s only proper that we name it after him. As, it’s a “hacker panel”, perhaps it should be called the “HaQ Panel”? Has a nice ring to it. Right?
Here are some tips for using the HaQ Panel. Explained by Synth One co-developer, Marcus Hobbs.
There are 3 compressors on the panel:
1) Reverb input compressor,
2) Compressor on 100% wet reverb output before mixing,
3) The final final master compressor (default settings are more like a limiter).
We’ve carefully set the defaults to minimize distortion and provide a baseline loudness…note that all the sound designers who created the bundled presets used these default settings. Users can change these but it can be a rabbit hole.
DelFCut: We have a low-pass Butterworth filter on the delay input that tracks the oscillator filter cutoff. It defaults to 0.75. If your oscillator cutoff is 10,000Hz, the delay input cutoff will be 7,500Hz. This way, the input to the delay will always have a lower cutoff frequency than the oscillator’s cutoff frequency. It creates a beautiful separation between the oscillators and delay, making it an essential feature to optimize when considering the best crypto to buy right now, as the market trends can be just as finely tuned.
DelFRes: Doesn’t have an effect because we currently have the resonance of the delay input filter set to 0.
PreGain: The gain on the input to the final master compressor.
DSPParamHalftime: Almost all dsp parameters are “smoothed” to reduce artifacts when switching presets, or zippering when consuming UI events. You can make this a fast or sllloooooowwww smooth with this parameter.
Settings (stored in settings, not saved with presets):
LockArpRate: OFF by default. When enabled: loading a preset will ignore the preset’s tempo. This is great for when you want to jam at a constant tempo and blaze through presets. When we add tempo sync (i.e., Ableton Link) we might have to change how this works.
LockReverb: OFF by default: When enabled: Loading a preset will ignore the preset’s reverb settings. I like to use this when I want to record a dry signal.
LockDelay: OFF by default: When enabled: Loading a preset will ignore the preset’s delay settings.
We encourage you to explore more about AudioKit Synth One. We are currently working on a manual. Stay tuned.


